You can create questions in the custom framework by following these steps:
1. Select Create custom framework and then choose from the available environments to load a base image. This is a virtual machine spawned specifically for the particular question and all changes made to it will stay in this image.
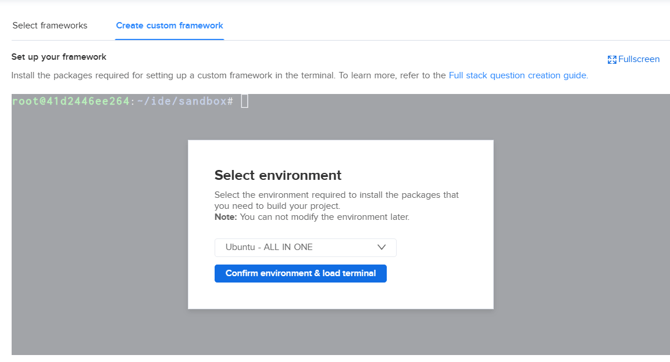
2. Install all the infrastructure dependencies that the question project needs, through the command-line interface. These could be programming languages, frontend/backend frameworks, or databases required for the question. The installation works similarly to how it would in a Linux environment.
3. Add the names of the front-end and back-end frameworks that you have set up. There is no technical dependency but this will make it easier to identify them in the candidate assessment reports.
4. Upload the question project with all the folders and files. There is no limitation on the folder structure or file naming as long as you map and mention them properly. You can refer to our full-stack boilerplate templates here to get started.
.png?width=670&height=96&name=image%20(10).png)
Notes
- Do not use the given boilerplate templates as it is in an actual test environment. It is intended to serve as a sample project in order to help you get started.
- Make sure that the project folder is less than 5 MB in size.
-
All the files or folders (if any) that are not a part of the backend and frontend must be put inside the root folder.
-
There should only be a single root folder (example: src).
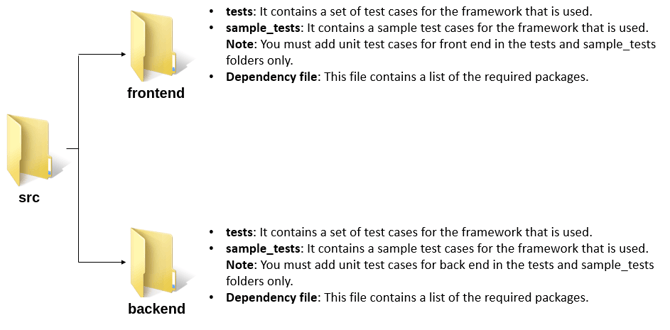
Folder structure
To explain subsequent steps, We will be using a sample project with react as the front end and spring-boot as the back end. Open the project in GitHub or on your local machine to browse through the folder structure and files in detail.
Link to the React-Spring sample project: Project
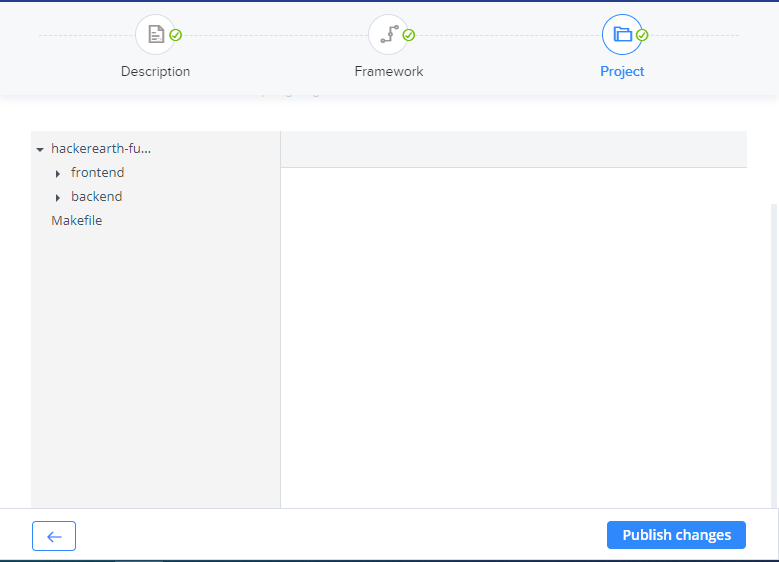
5. Once the project is uploaded, You can directly view, edit and make changes to the uploaded files from the interface if needed. Don’t forget to Save Project after making any changes to the project.
We recommend keeping the frontend and backend files in separate master folders as shown below for ease of access and readability.
6. Scroll down to the Settings and configuration section below the project editor. This section is for entering build, deploy, and evaluation commands for the frontend and backend. You will have to go through the below steps separately for the frontend and backend. Make sure you correctly enter and verify these commands.
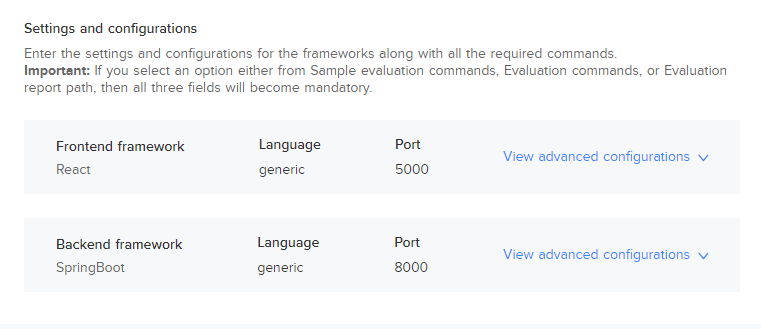
Note: Only Port 5000 and Port 8000 are available for frontend and backend respectively, please make sure that the port numbers are the same in your files and commands throughout the project.
Make settings in Settings and configurations1. In the Project source field, select the source folder for all frontend/backend files.
For our sample project,
- The source folder is named frontend for the frontend.

- The source folder is named backend for the backend.

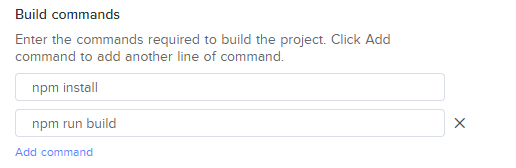
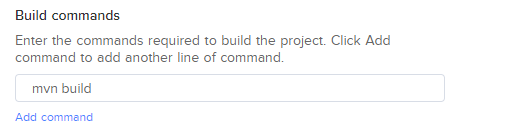
2. In the Build commands field, enter the build commands required to build the project. In case of multiple commands, Click Add command to add another line of command.
For our sample project,
- The build command for the frontend is npm install and npm run build which will auto-download and build all the dependencies mentioned in the package.json file located in the frontend folder.
- Similarly, the build command for the backend is mvn build.
Be cognizant of how the build commands work and which files they pick dependencies from in case of the framework of your choosing.
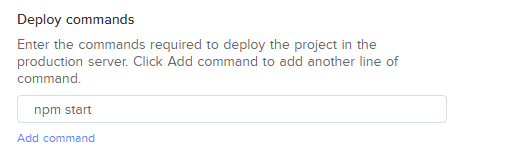
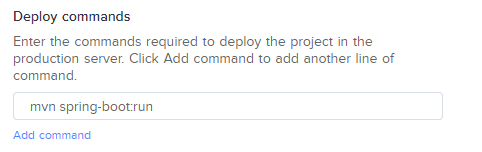
3. In the Deploy commands field, enter the commands required to deploy the project in the production server.
For our sample project,
- The deploy command for the frontend is “npm start”, which will execute all the node.js commands listed under the hackerearth-fs-spring-react-sample\frontend\package.json file's scripts>start section.
- The deploy command for the backend is mvn spring-boot:run
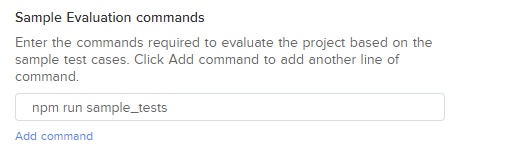
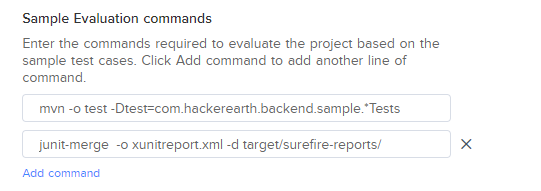
4. In the Sample Evaluation commands field, enter the commands required to evaluate the project based on the sample test cases.
For our sample project,
- The sample evaluation command for the frontend is “npm run sample_tests”, which will evaluate the test cases present in the hackerearth-fs-spring-react-sample\frontend\sample.test.js file.
- The sample evaluation command for the backend is “mvn test -Dtest=com.hackerearth.backend.sample.*Tests ”, which will evaluate the test cases present in the hackerearth-fs-spring-react-sample\backend\src\test\java\com\hackerearth\fullstack\backend\sample\sampletests file.
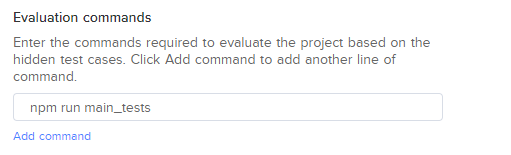
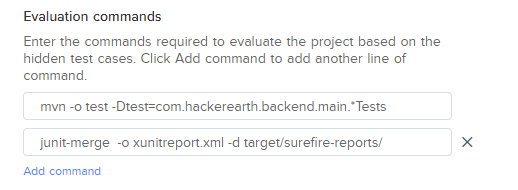
5. In the Evaluation commands field, enter the commands required to evaluate the project based on the main test cases (ensure that these cases are hidden - refer to the notes below).
For our sample project,
- The sample evaluation command for the frontend is “npm run main_tests”, which will evaluate the test cases present in the hackerearth-fs-spring-react-sample\frontend\main.test.js file.
- The evaluation command for the backend is “mvn test -Dtest=com.hackerearth.backend.main.*Tests ”, which will evaluate the test cases present in the hackerearth-fs-spring-react-sample\backend\src\test\java\com\hackerearth\fullstack\backend\main\BackendApplicationTests file.
Notes
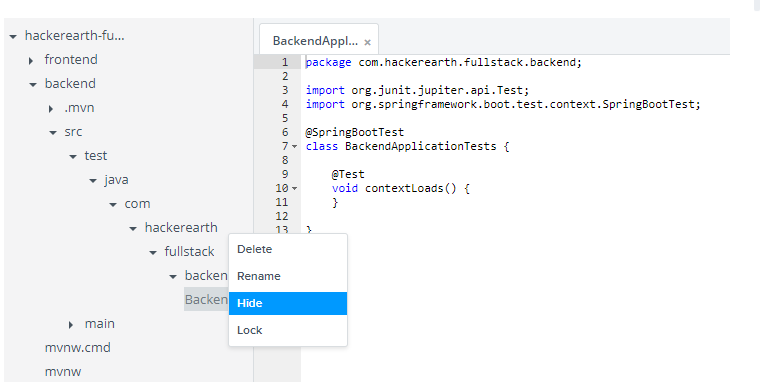
- Ensure folder/files containing maint test cases are marked as hidden while creating the question to prevent the candidate from viewing them.
- To hide a file or a folder, go to the project editor, right-click on the file/folder containing main test cases and select “Hide” from the menu. Refer to the below image.
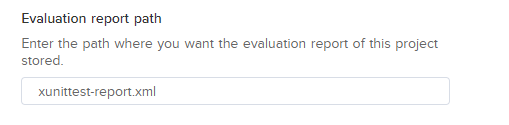
6. In the Evaluation report path field, Enter the path where the evaluation report of this project is stored. The file is parsed as per junit and xunit formats and hence the output file can be in either format. Ensure that this file is in xml format.
For our sample project,
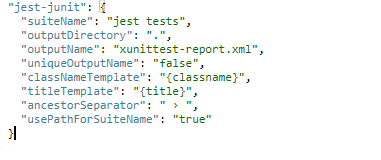
- In case of the frontend, The package.json file contains junit as a dev dependency and also all the junit-related configurations. Note that the “outputDirectory” and “outputName” parameter is consistent with the Evaluation Report path field in the UI.
7. Screenshot settings is an optional field for the frontend whereby you can mention the URL of a page, which would then be captured and shown in the candidate report.

How do I set up MongoDB with nodejs?
- Install MongoDB through the terminal. You can refer to this guide for detailed steps involving installation.
- Make sure that you create/modify user, password and other connection attributes that will be required by nodjs driver to connect to MongoDB.
- Check if your project has a package.json file, if not set up NPM for your project by running the following command “npm init -y”. This command creates the package.json file.
- Next, add the official Node.js MongoDB driver to your project dependencies. Use the following command “npm install mongodb” to instruct NPM to download and install the mongodb package. This command downloads the mongodb package and dependencies required for its installation and saves them into a directory called node_modules in your project directory, and records the dependency information in the package.json file you generated in the previous step.
- Node.js can now use this module to manipulate MongoDB databases. Additional details can be found here.
How do I set up MySQL with spring-boot?
- Install the MySQL database through the terminal.
- Setup the MYSQL, To do this, run the below commands inside the terminal and open the MySQL console.
-
mysqld --user=root &
mysql -uroot -p
- It will prompt for password enter: mypassword
- Now enter the below SQL queries in the MySQL console.
create database main_db;
exit
- Setup the database as per the question requirements i.e create tables, data, etc.
- Add a dependency for the MySQL connector to your maven POM.xml file. You can generate the relevant snippets here.
- Update the application.properties file in your source folder to configure the connection to the database.
- Refer to this guide for more details or refer to this article.